Our Work · Specialty Pieces
Custom Maple Les Paul Style Guitar
A Les Paul style guitar I started in 2003 and finished sixteen years later, built from a mahogany body, a black walnut top left over from a jewelry box, and a hand-carved neck made to stay straight for life.
How It Was Made
From a stack of boards to the guitar in your hands.
Notes from the bench, in Dan's own words.
The guitar I started in 2003
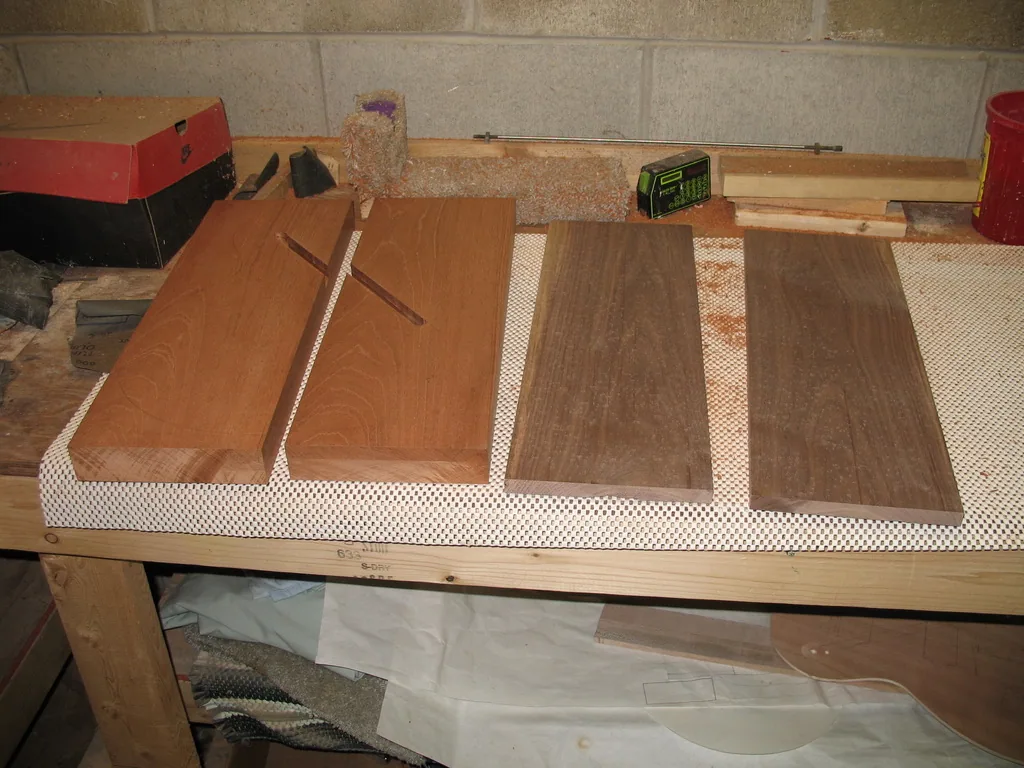
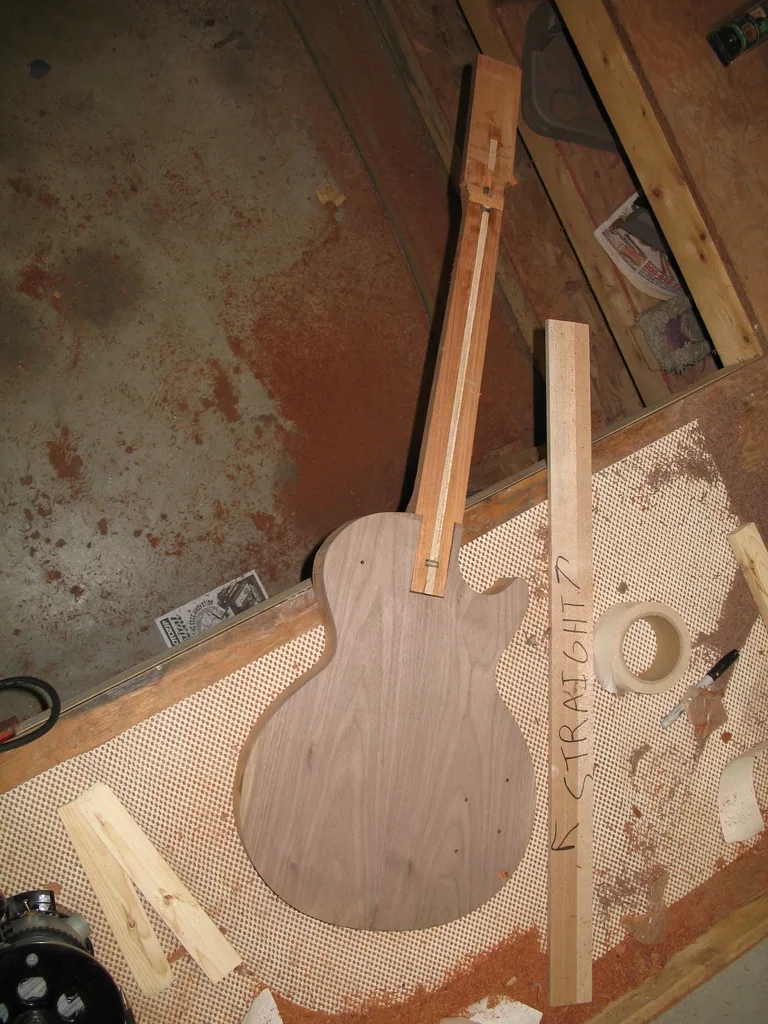
I have been building my own guitars since high school, when I talked my shop teacher into letting me build one instead of the assigned projects. This one started back in 2003. I grabbed a piece of mahogany for the body and a piece of black walnut I had left over from a jewelry box. The walnut was too nice to waste, so I cut it into rough shape, glued it up, and set it aside to become the top.
Routing the channel first
On a Les Paul the electronics all connect underneath, so before I glued anything up I routed the channel that links the pickup and control cavities. It has to be planned and cut first, lined up just right, so everything I later route from the front and back lands on that channel and I can run the wiring through it. Then I glued the top to the body.
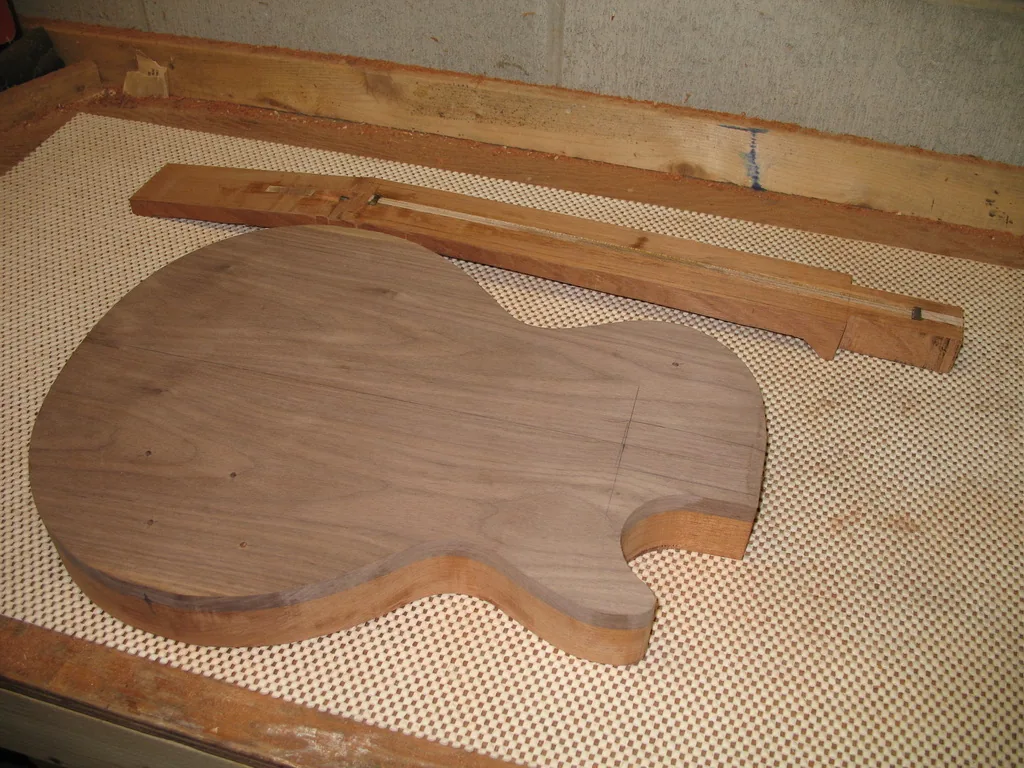
Cutting the body to shape
I traced the body from a template, rough-cut it on the bandsaw, and then hand-sanded it down to the final shape.
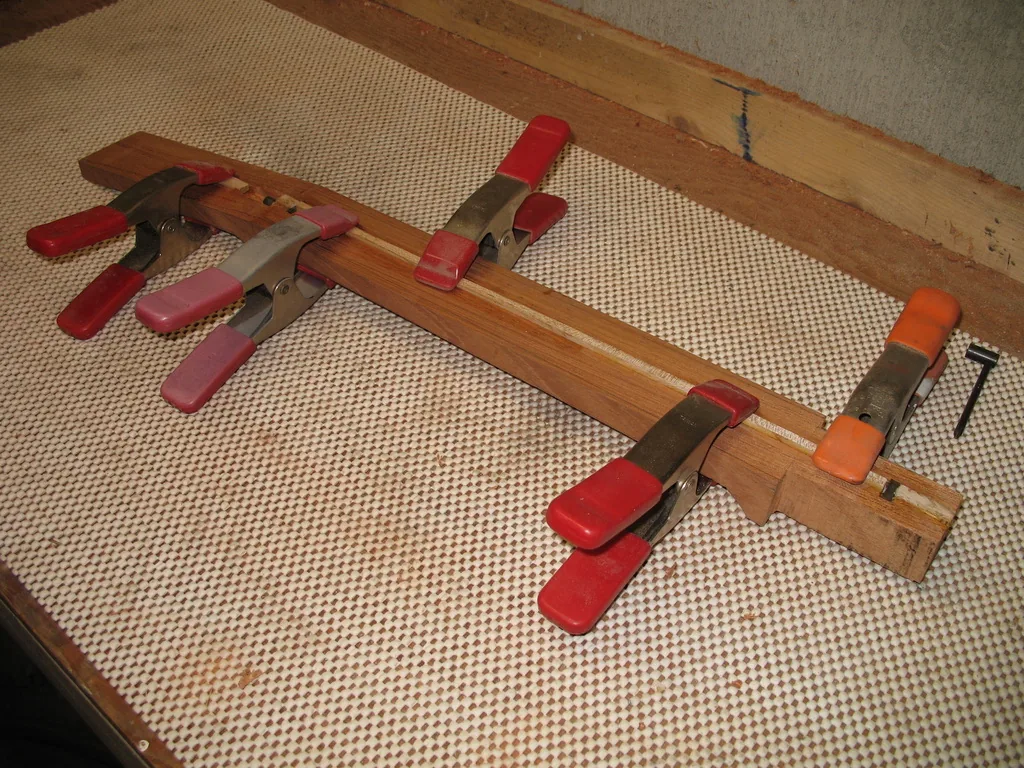
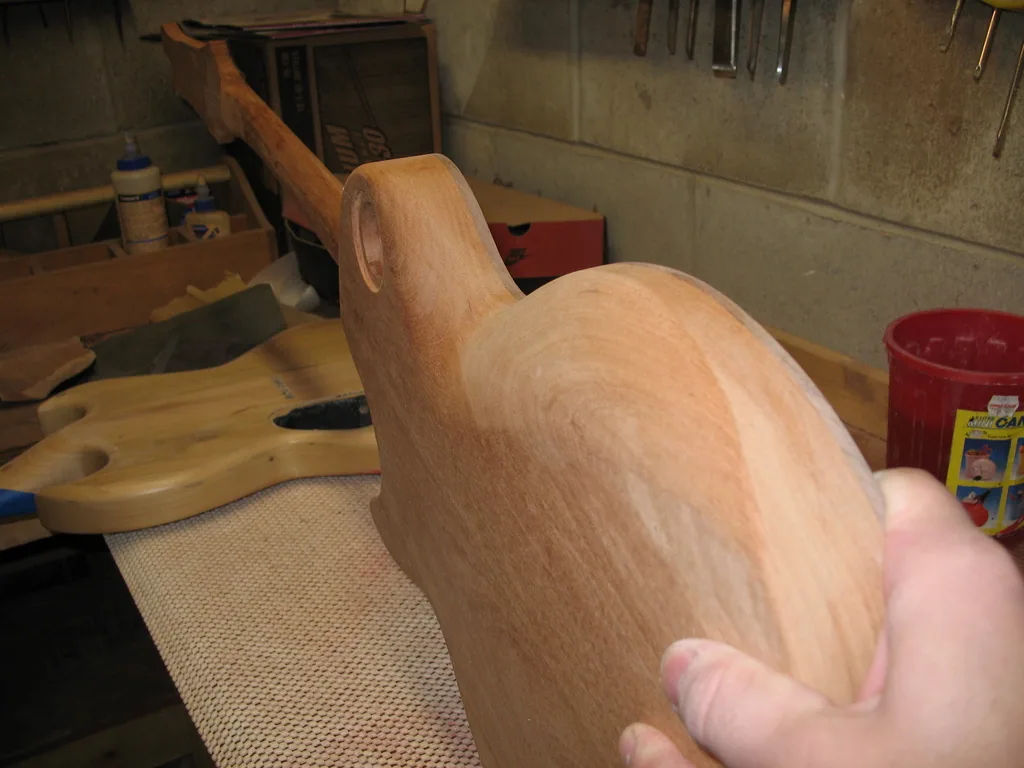
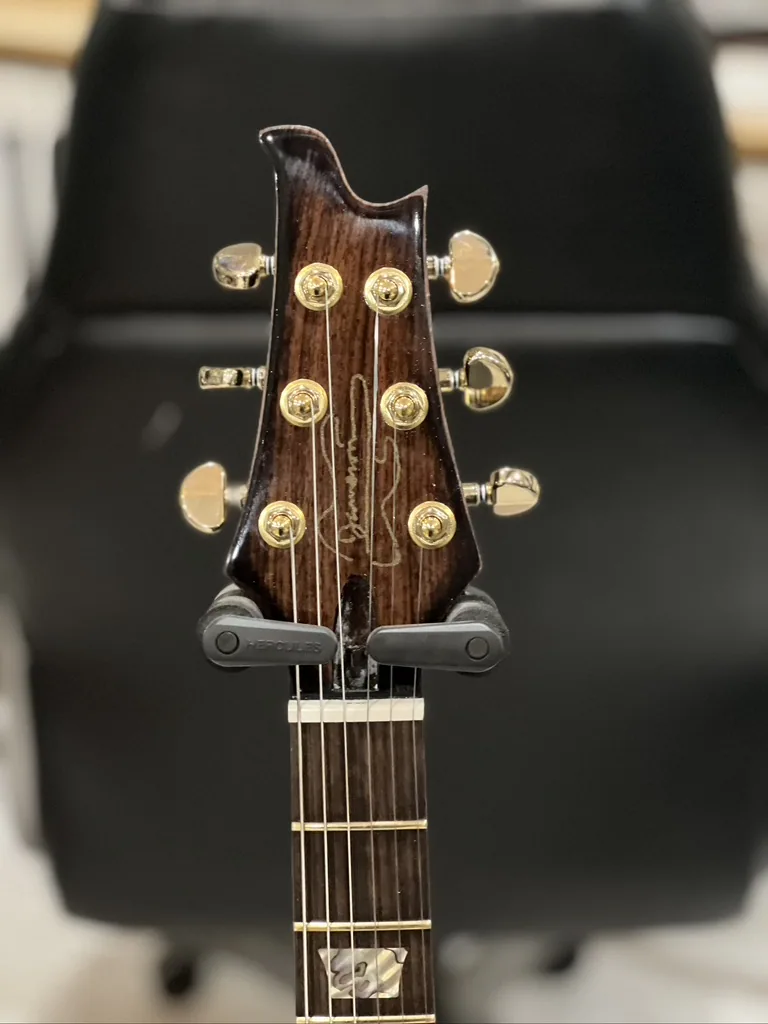
A neck built to stay straight
For the neck I took a single piece of mahogany, cut it into three, and flipped the center piece end-for-end so its grain ran opposite the others before gluing it back together. If one piece ever wants to warp, the next wants to warp the opposite way, so they cancel out and the neck stays stable. I carved the profile by hand, cut the channel for the steel truss rod, and capped it with a filler strip. It is a set-neck guitar, so the neck and body join with what is basically a furniture-grade mortise and tenon, glued into one solid piece. Then I went after the edges with a rasp and file, adding a Fender-style forearm bevel, a belly carve on the back, and a softened neck heel, so it is comfortable everywhere a Les Paul is usually hard-edged.

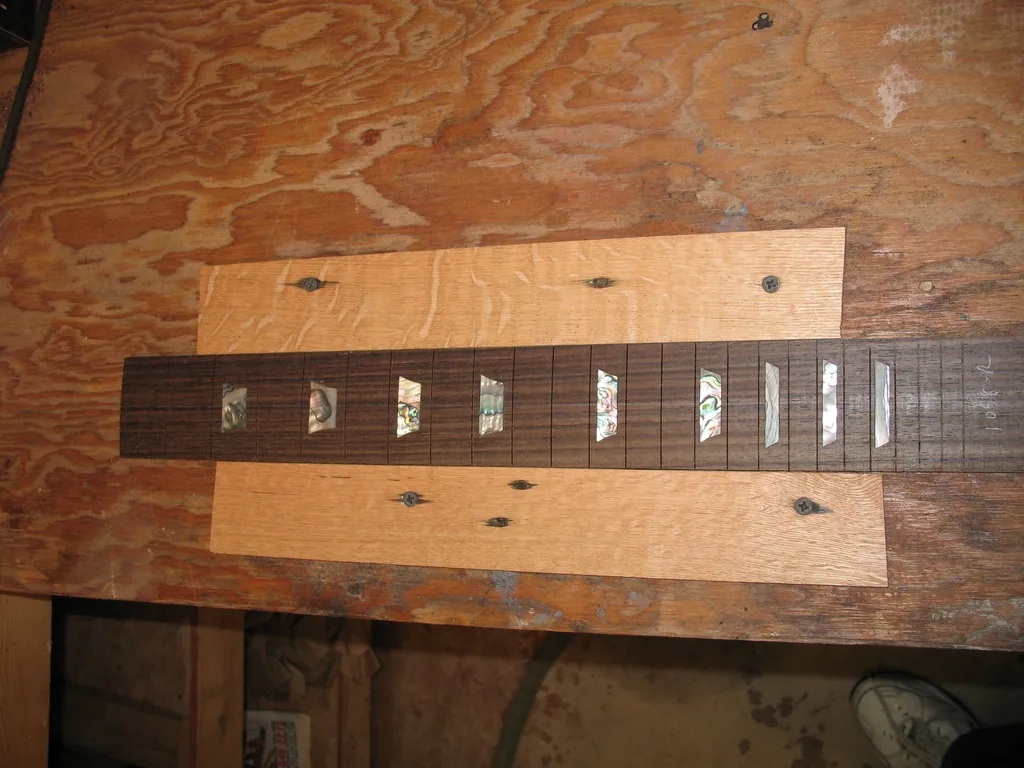
Carving the top and setting the inlays
With no CNC back then, the carved top was done in passes with a router and finished by hand with files and a set of little curved-bottom violin planes until the contours flowed. For the fretboard I used rosewood with abalone trapezoid inlays, tracing each piece, carving the recess with a Dremel, setting them in epoxy, and sanding everything flat to the board's twelve-inch radius before gluing it to the neck.
Sixteen years in a case
Then life happened. I was maybe three or four months in, needing nothing but sanding, when I moved and lost my shop space. The guitar went into a case with all its parts and waited, and a couple of months turned into sixteen years. What finally brought it back out was my buddy Andy at HDA Carpentry, who asked me to help his son put together a kit guitar. Working on that one gave me the push to blow the dust off mine. I opened the case and, thanks to that three-piece neck, it was still dead straight after sixteen years with no strings on it. No cracks, nothing. So I got to work on all that sanding I had been dreading.

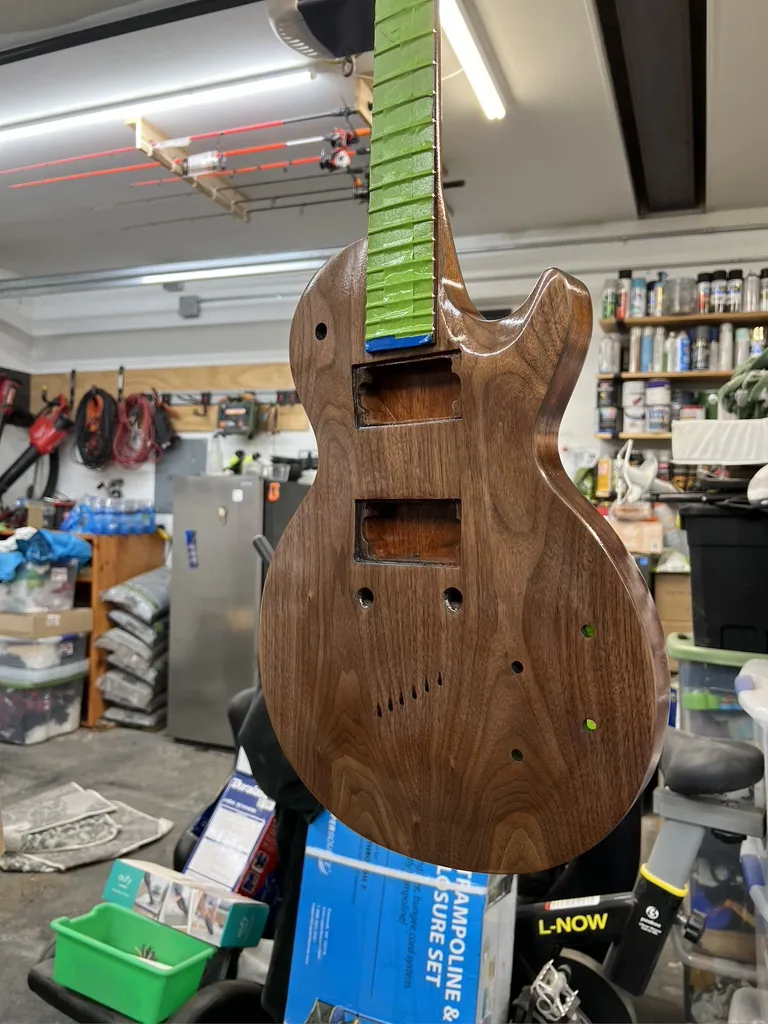
Strings through the body
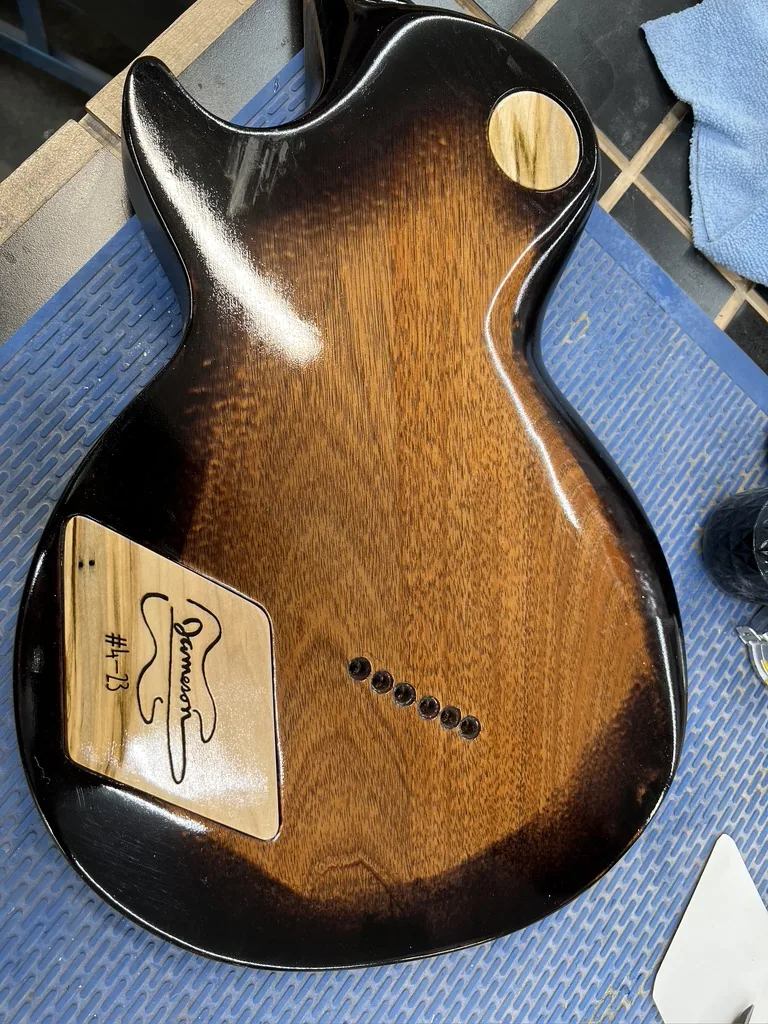
Most Les Pauls use a stop-bar tailpiece, but I wanted something more unique, so I ran the strings through the body, with ferrules in the back holding the ball ends. Instead of the usual little ferrules poking through the front, I carved a relief detail into the top where the strings come in, so the hardware became part of the look. Then I fit and drilled for all the controls, tuners, and the peghead, and test-fit everything to make sure it worked.
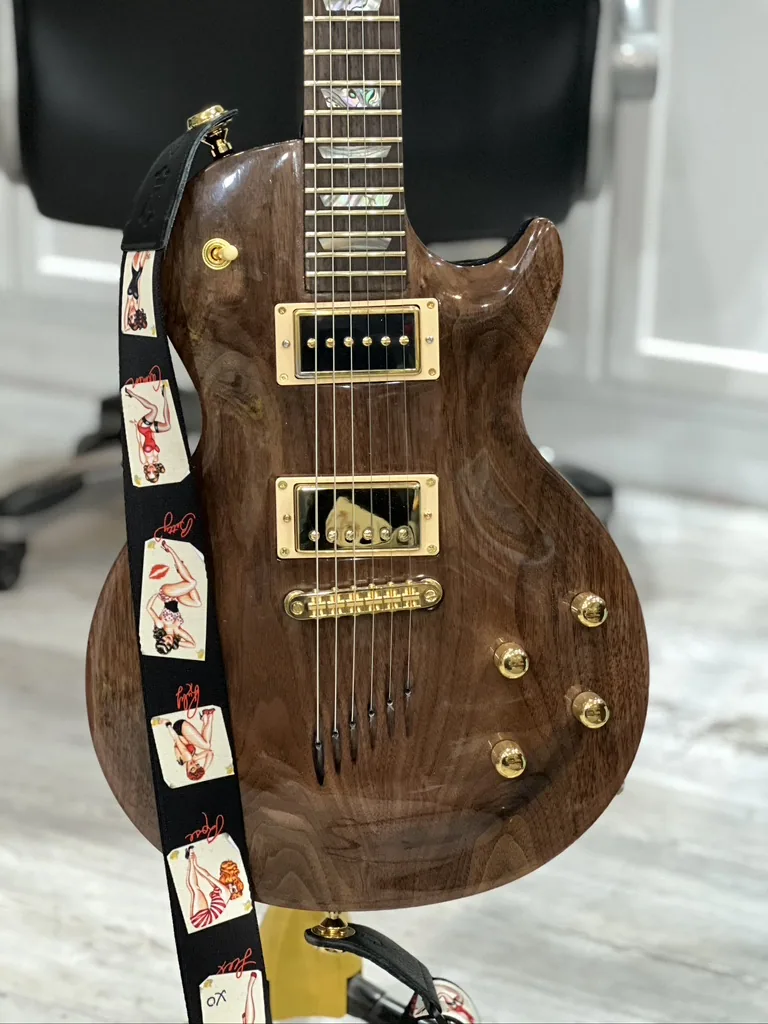
Gold frets and a classic finish
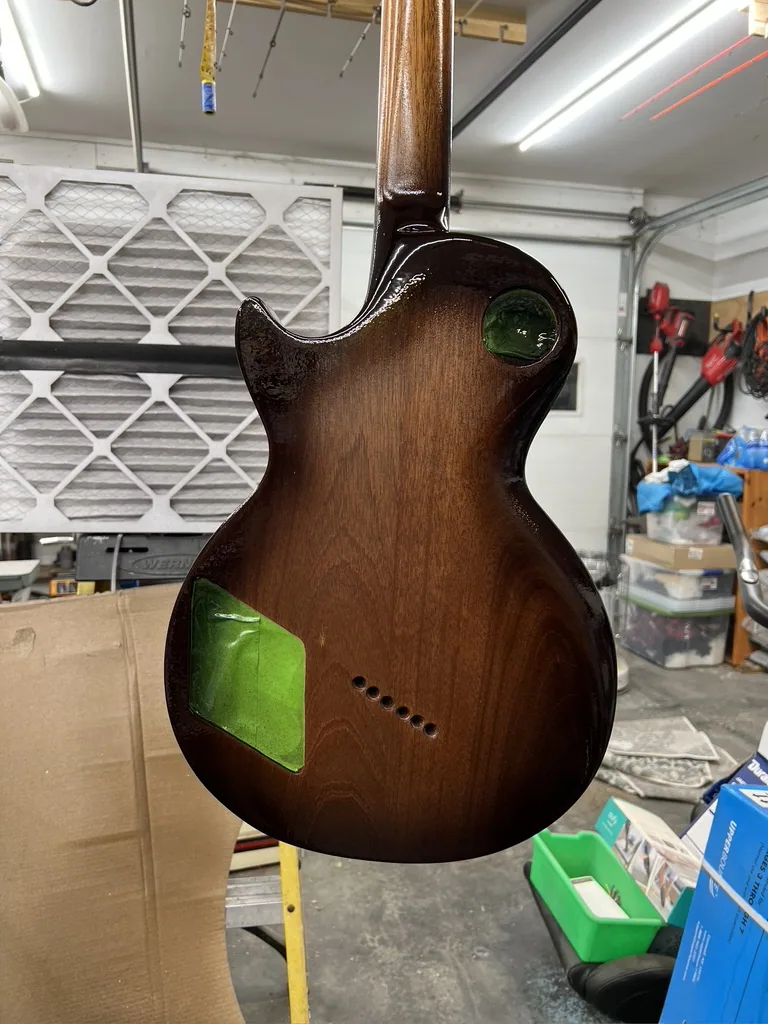
I pressed in gold Evo frets, a middle ground between nickel, which wears and oxidizes too fast, and stainless, which lasts but is brutal to work. The gold holds up well, does not oxidize, and looks beautiful against this body. After the fretwork, leveling, and dressing, I sprayed a traditional nitrocellulose lacquer: clear over the walnut top to let it show, and a black burst around the mahogany back and edges for depth. I do not like plastic on a guitar I have put this much work into, so even the control-cavity covers are custom-made from ambrosia maple.
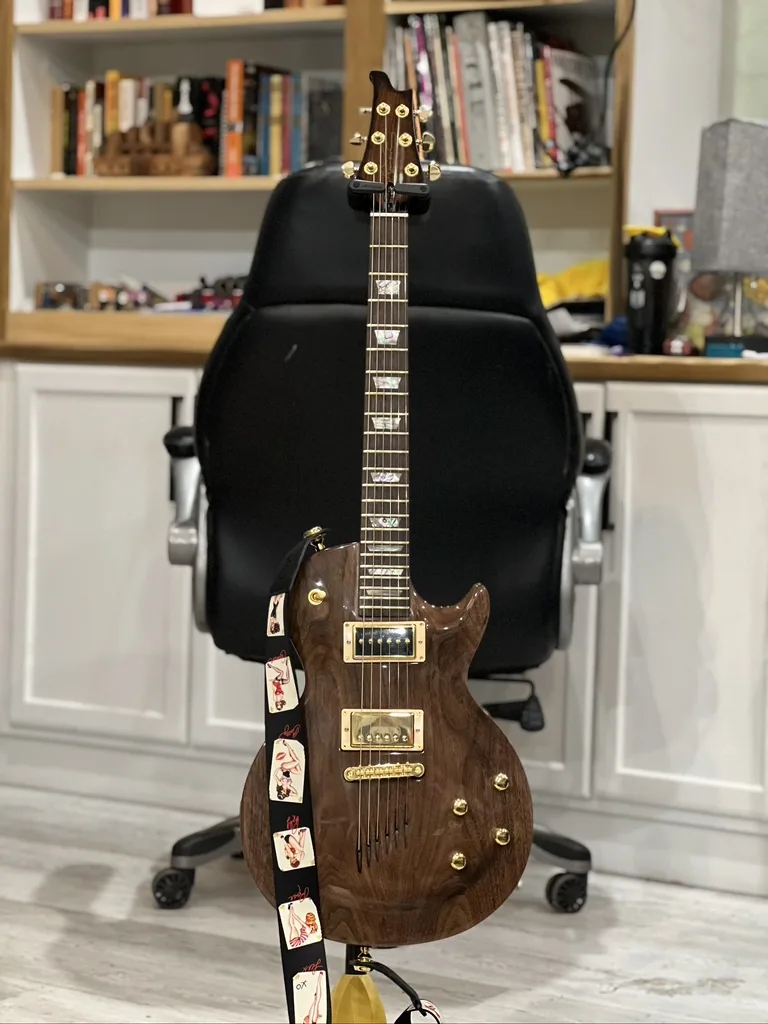
Finished and played
Then I polished it out, assembled the hardware, strung it up, and played it. Sixteen years in the making, and it came out exactly the way I had hoped. It is one I am really proud of.
I have been building guitars and furniture for a long time, and I bring the same care to every piece, whether it takes a weekend or sixteen years. If you have something in mind, I would love to talk it through.
Inquire about a similar pieceBegin a Project
Considering a piece of work for your home?
We take on a limited number of projects each year. Reach out with what you have in mind and we will be in touch to discuss the space, the materials, and the timing.